|
Background
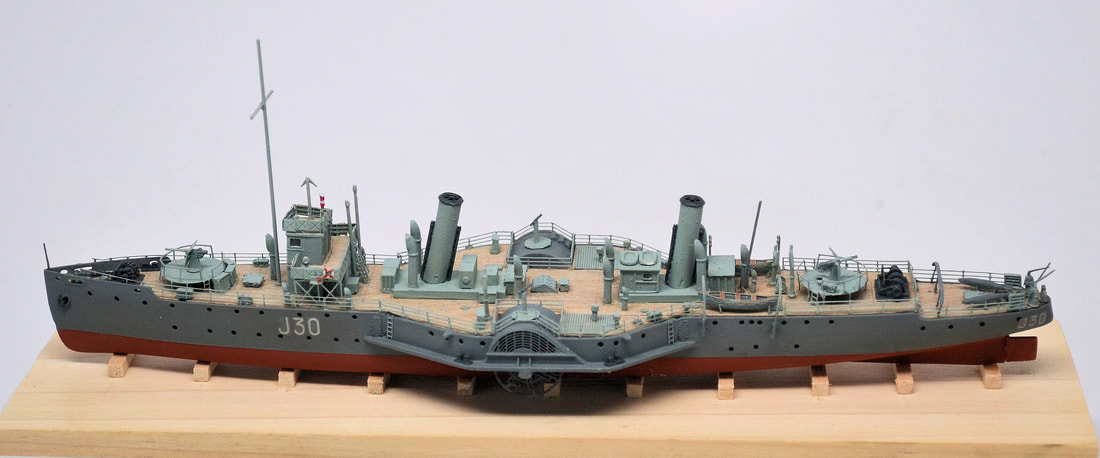
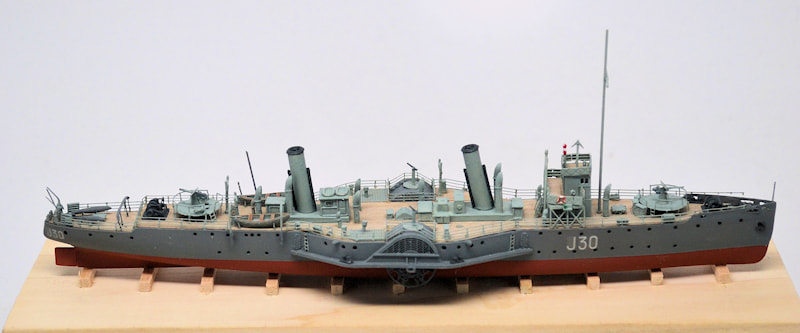
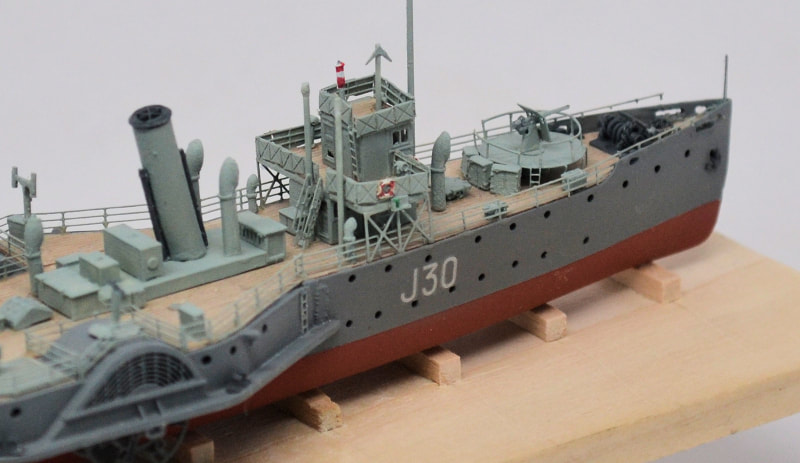
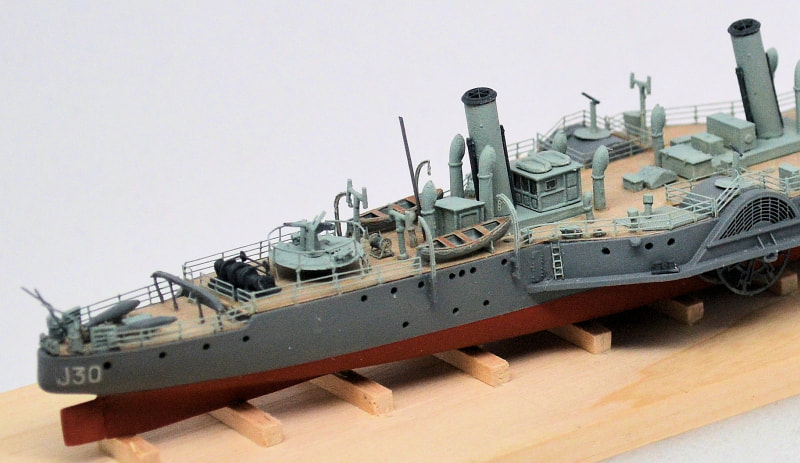
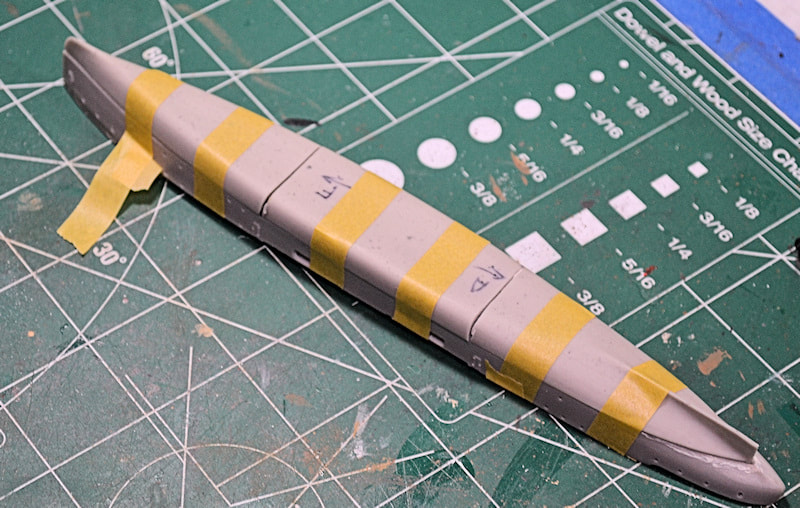
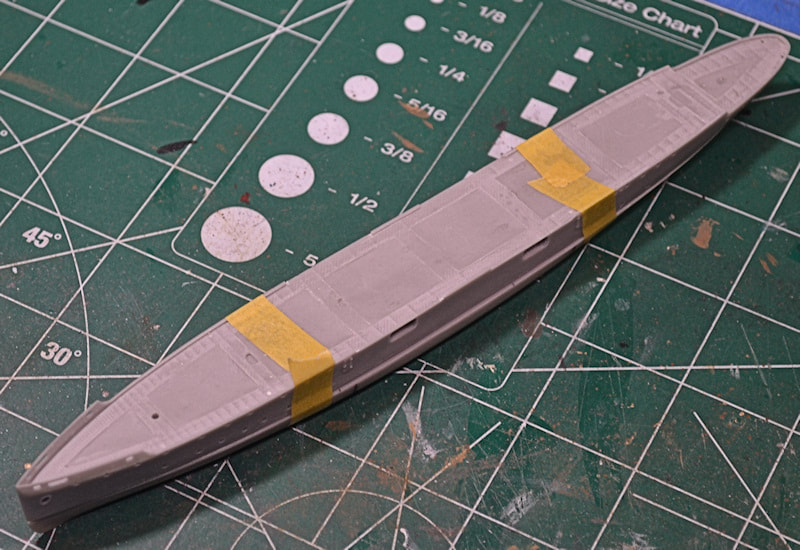
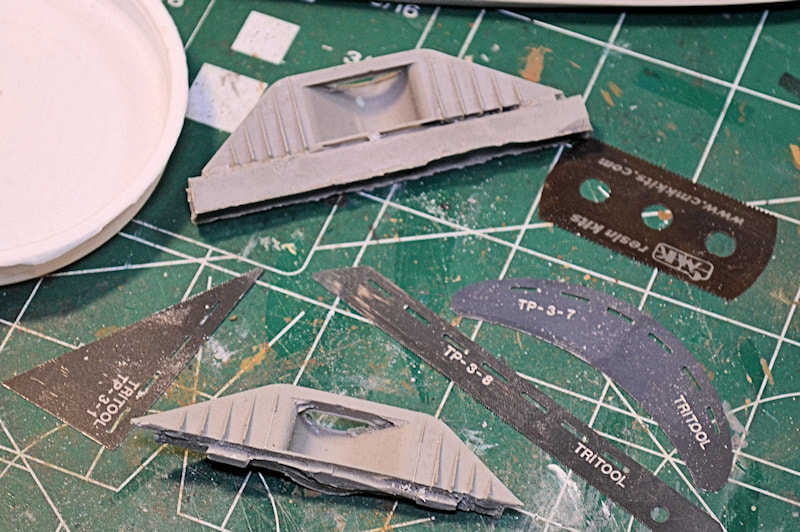
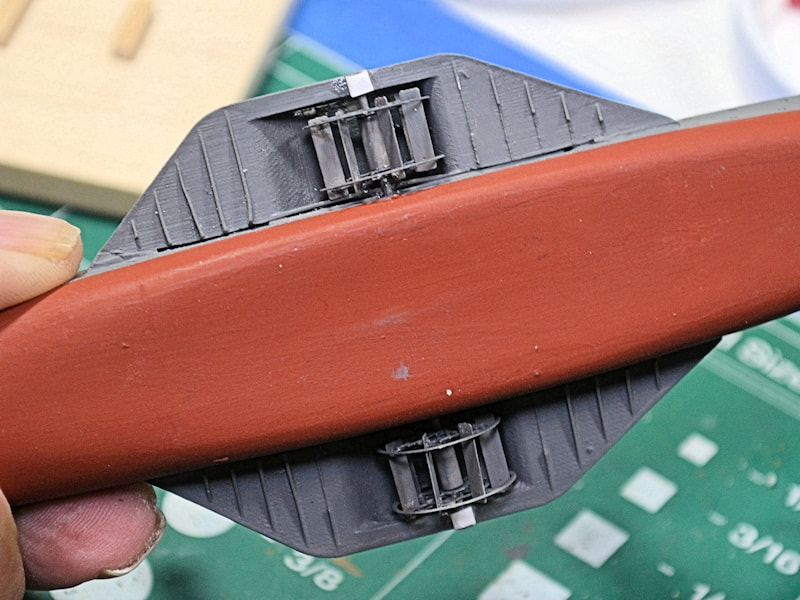
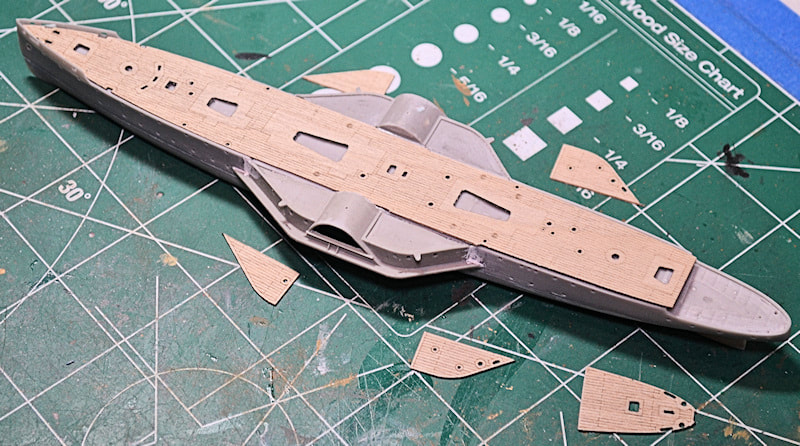
Built for the Royal Navy as HMS Melton in 1916, one of 32 in the Racehorse Class of paddlewheel coastal steamers, she served on Auxiliary Patrol and in the Mine Clearance Service. Post-war she was sold to the breakers but picked up by The New Medway Steam Packet Company in 1929, renamed Queen of Thanet, and converted for excursion work on the River Medway and River Thames as well as cross-channel voyages to Calais, Boulogne and Dunkirk. In September 1939 she was requisitioned by the Admiralty for minesweeping duties and commissioned as HMS Queen of Thanet, pennant number J30. She took part in the Dunkirk evacuation rescuing 4,000 men in four trips. For Operation Overlord in June 1944 she was stationed at Selsey as the Mulberry Despatch Control Ship. After the war she went back to civilian life doing excursion work around the Thames Estuary, being renamed Solent Queen, but in 1951 while in a shipyard for survey and repair work, she caught fire and was written off. One of these ships, the Medway Queen, is currently bring restored and is expected in-service about 2024. I bought the kit online from either the manufacturer or from Hannant’s as soon as I saw it advertised because it is quirky and because I needed something for a Battle of France GB. Unfortunately, the model apparently reflects the 1942 re-fit so it’s somewhat of an anachronism. The Model It’s a good kit overall with resin hull and parts, photoetch details, and wood decks. The instructions are very clear and well laid out. AJM Models have a 3-D view of the construction online which helps. The only shortfall is the resin parts list, which is a blurry grey photo - it is annotated with part numbers but since the resin parts have no numbers it isn’t much help. The resin is OK; it seems like it was done by different companies. The two winches are exquisite, the rest of the deck furniture not as good. There are no part numbers on the pour blocks and the blurry parts photo didn’t help. Nonetheless, it was all there and nothing was damaged. There were some pinholes. The hull can be waterline or full, however the upper and lower pieces do not align fore-aft. After some study, I cut the lower part into forward, center, and aft sections then glued the forward and aft sections to the upper hull. Then I reversed the center section front to back and fit it in between. It took just a little sanding and filling to get a nice clean hull and much easier than trying to reshape it in hot water. The paddle boxes were each a single piece and too complicated for the casting process and to get cut from the pour blocks and to fit against the hull. It was not a good start to the build. The photo-etch is good but very thin, fragile, and difficult to work with. The rails were fitted to the deck but slightly off in places. The two bandstands have very spindly legs and I broke a number of them off. The wood decks were good but needed some adjustment to fit. I found the best way was to put the hull halves together, then get the paddle boxes on, then fit all the decks, doing some surgery where needed. I put a coat of flat varnish on them in an effort to protect from dirt, paint, etc. After that it was just a matter of working, in this case, back to front by section, adding all the parts and deck furniture, with the paddle wheels being about the last to be constructed. Of course, the flaw in that is that I had to assemble them with the ship upside down, trying not to knock off any of the detail. Paints are White Ensign Colour Coats, enamel, brushed on. When done, I gave it a light spray of Model Master Acrylic Flat to tie it all together. A few tense moments and it didn’t really turn out as I envisioned but I enjoyed the build. -John Ratzenberger
|
|